

3. Dictionaries
3.1. Areas
On this page you can Edit, Delete and Create new Areas. You can also run the Steps under the defined Area in test mode:

Clicking “Create” button you will open the Area creator page:
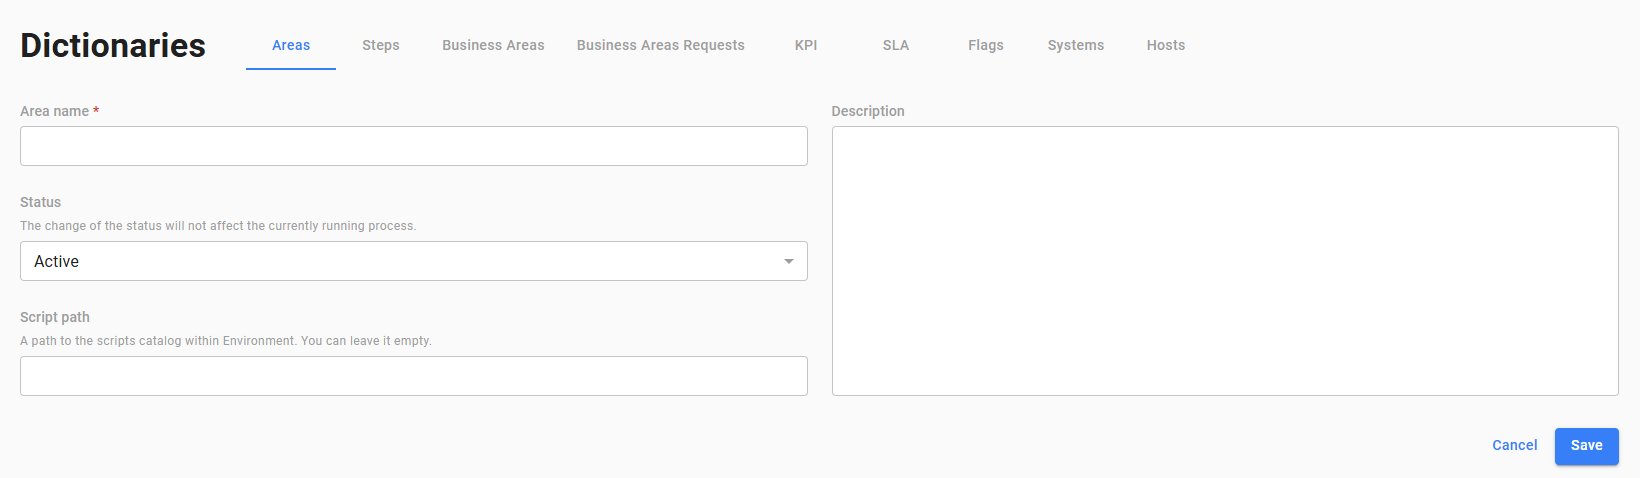
The status of the Area can be Active, Hold and Inactive. Hold means that it will be included in the next batch run but all the steps will be in Hold status. You can also define the script path for the scripts of the steps that will be run for this Area.
3.2. Steps
On this page you can Edit, Delete and Create new Steps. You can also run the Steps in test mode:

Clicking “Create” button you will open the Step creator page. There are plenty of fields that can be defined. Most of them are self-descriptive. Let’s explain the most important ones:
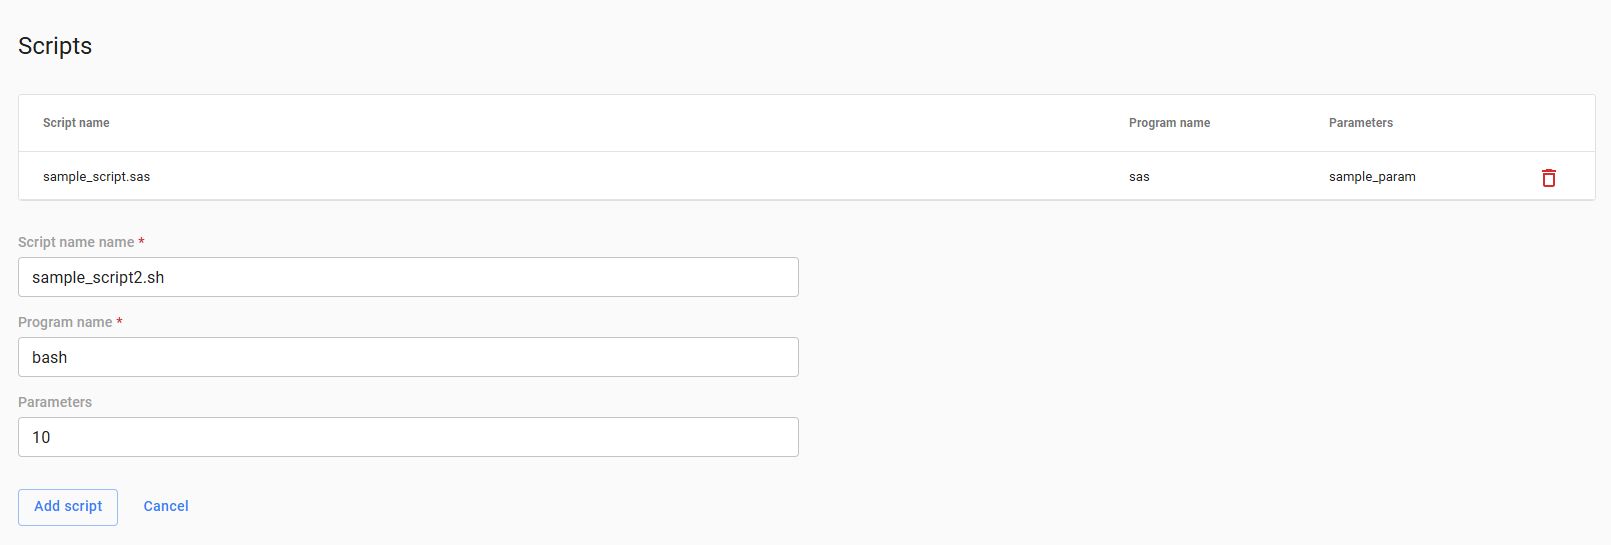
- Step can execute one or more scripts. Scripts can be defined in script section:

Click "Add Script” button to add scripts. Scripts should contain the Script name with optional path, optional program name and optional parameters:
You can also add Flags. You can choose the defined flag and set the optional Max Delay value (means that flag will be valid for a processing day + optional number of days). The step will wait until the flag will be sent to Core Auto (e.g. step is waiting for a file transfer from external system, external system can send a flag after the transfer of the file is completed).

Youcan set Status (Active, Hold, Inactive), Run After (means that step will wait for particular hour to execute even if other condition is fulfilled). You can specify a day of the week and day of the month (including Last Day):

Finally, you can add the parent and children’s steps. Just chose from the steps list and click Add as parent step or children step. You can also remove the dependent steps by clicking “Remove step”

After everything is set click “Save” button.
3.2. Business Areas
On this page you can Edit, Delete and Create new Business Areas.
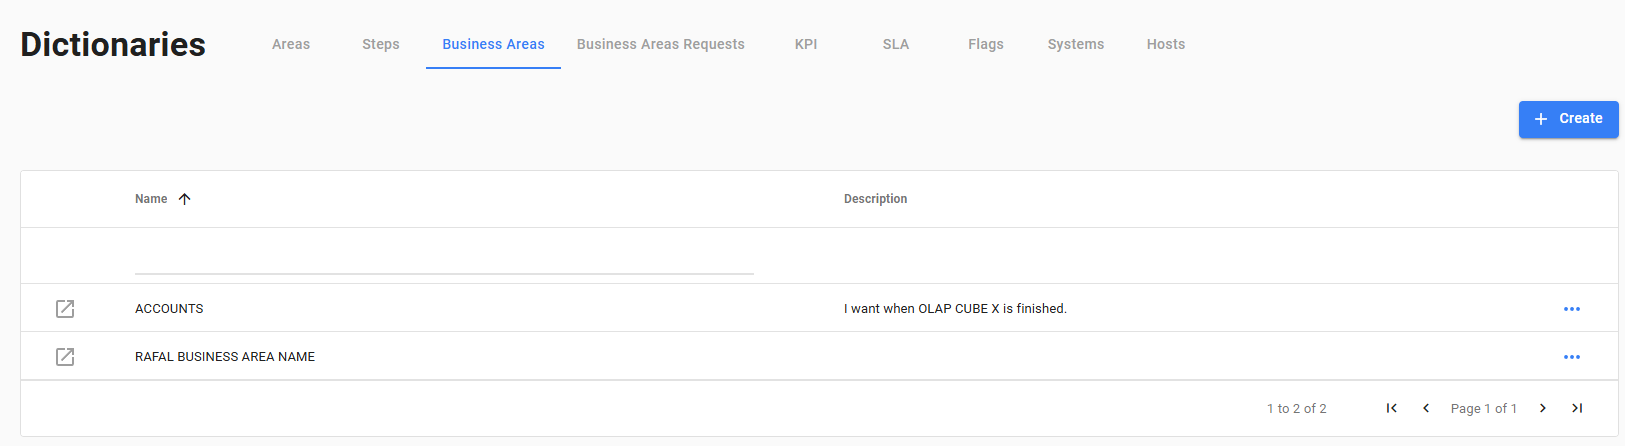
Clicking “Create” button you will open the Business Area creator page.Let’s explain the most important positions there:

You need to choose the users that will be able to see the Business Areas inMonitors -> Business Areas. Just choose users and click “Add users”. You also need to choose 1..N steps that need to be completed to state that Business Area is completed. You can think of Business Area as a set of Steps that produces some business object (OLAP cube, report, etc.)
Click “Save” button to save the changes.
3.4. Business Areas Requests
On this page you can see users’ Business Areas Requests and create requested Business Area. Just click “Create Business Area” from the context menu on the right to move to the Business Area creator page:

3.5. KPI
On this page you can Edit, Delete and Create new KPIs. On the main page you can see the list of KPIs:

To create the new KPI click “Create” button. This will open the KPI creatorpage. You need to specify the Name, optional description and select the KPI type:
- Binary - for simple KPI that will only distinguish between fulfilled / notfulfilled runs against threshold.
- Discrete - gives some monthly buffer of time for runs.
You also need to choose the threshold below which the KPI will not meet criteria as well as choose the Expected finish time (time to which processes / areas should be finished.)

After defining the basic KPI parameters you need to choose at least 1 Step / Area or Business area:

Click the “Save” button to save the changes.
3.6. SLA
On this page you can Edit, Delete and Create new SLA. On the main page you can see the list of SLAs:

To create the new SLA click “Create” button. This will open the SLA creator page. You need to specify the Name, optional description and select the KPIs that should be included in SLA:

Click the “Save” button to save the changes.
3.7. Flags
On this page you can Edit, Delete and Create new Flags. On the main page you can see the list of Flags:

To create the new Flag, click “Create” button. This will open the Flag creator page. You need to specify the Name:

Click the “Save” button to save the changes.
3.8. Systems
On this page you can Edit, Delete and Create new Systems. On the main page you can see the list of Systems:

To create the new System, click “Create” button. This will open the System creator page. You need to specify the Name and optional Description:
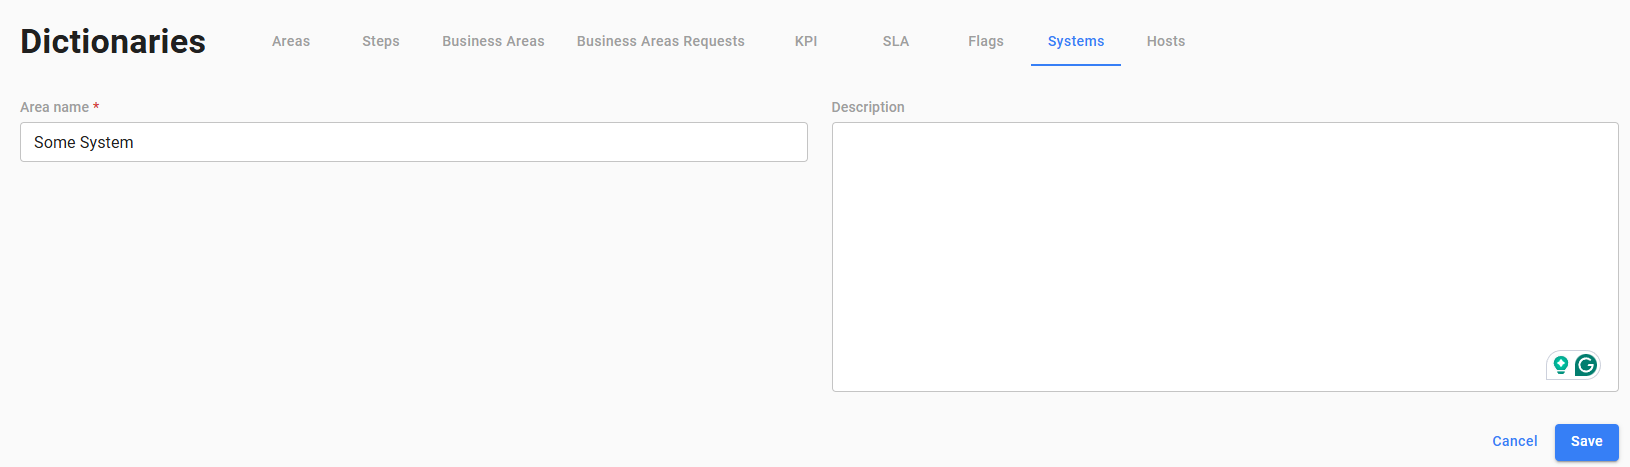
Click the “Save” button to save the changes.
3.9. Hosts
On this page you can Edit, Delete and Create new Hosts. Host is a logical name of the execution node that you can execute steps via remote agent. On the main page you can see the list of Hosts:

To create the new Host, click “Create” button. This will open the Host creator page. You need to specify the Name, optional Description, Script pathon on remote host, default Throttle and optional IP and username:
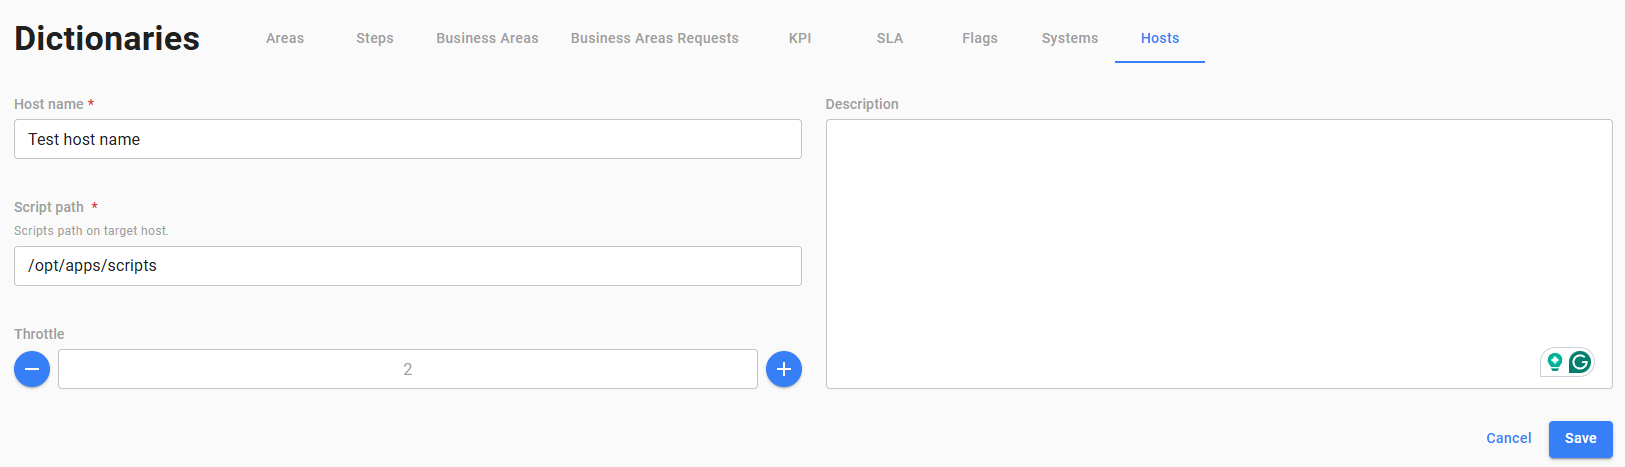
Click the “Save” button to save the changes.
